Adobe Premiere Pro – Add Transition Effect
How to add screen transition effects to cut-edited videos
How to apply video transition effects
Last time, we learned about Premiere Pro cut editing and subtitles. If the screen changes suddenly during cut editing, it can reduce concentration on the video, so a screen transition effect is necessary. In this episode, we will look at screen transition effects that allow you to move smoothly between screens.
1. Select transition section
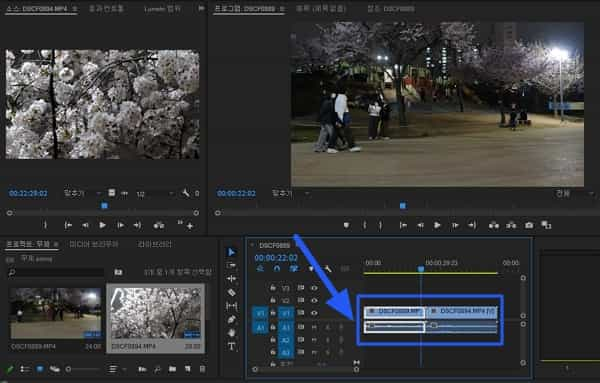
Select the video you want to apply a video transition effect to in the timeline.

2. Select video transition
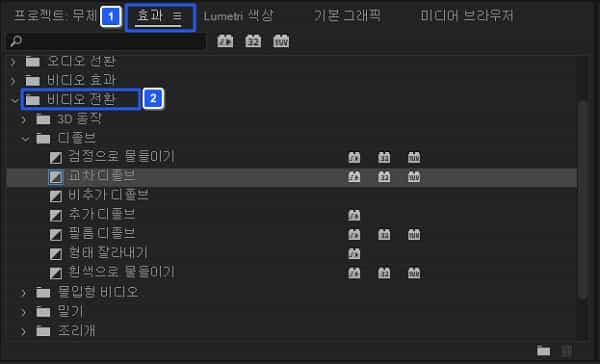
Once you’ve selected the video you want to apply a transition to, go to the Effects tab in the Project panel and select Video Transition. You can choose from a variety of video transition effects, such as fading to black and dissolving light.
As an example, I will choose a cross dissolve, which is commonly used in many videos.

3. Add desired transition effect
If you select an effect in the project panel, you can add a transition effect by dragging and dropping.

4. Confirm application of screen transition effect
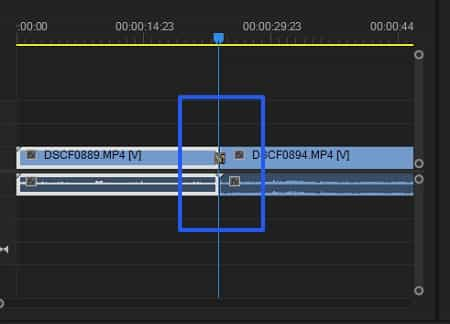
If you added a transition effect by dragging and dropping, you can see that it has been applied as shown in the square box in the image above. In most cases, when video effects are applied, you can check them as shown in the image above.

5. Check video output
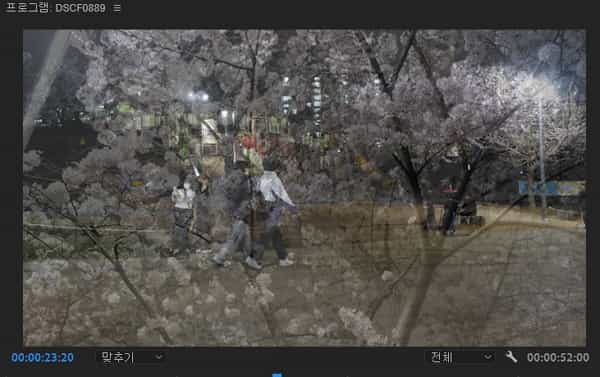
Once you have confirmed the applied part, this time play the part in the program monitor panel to check that the video is actually being output.
In the case of cross dissolve, you can use a transition method where one image gradually disappears and a new image emerges, as shown in the image above. All work is completed once you see the actual application as shown in the image.

Summary
- The video transition effects provided by Premiere Pro are very diverse.
- You can add various transition effects to each video section.